
In this article you will learn the required information to manage your aquaponics water quality.
Here are the different points that we will develop:
- Why testing the water
- How often should you test your aquaponics water
- Aquaponics water parameters and targeted range
- Material needed to test your aquaponics water
- How to test the aquaponics water
- How to interpret your aquaponics water quality test results
- Begin your aquaponics water quality data base
Why testing the water
Maintain a good balance
The principle of aquaponics is to create an ecosystem and to let nature do her trick. If we don’t need to work in order to harvest a delicious crop, we must offer good conditions to our ecosystem. Hence, we test the aquaponics water to make sure all parameters are within a good range. Don’t be afraid by what could look like complex chemistry. In the following paragraphs we will see that testing the water is fairly simple.
Keep your fish alive
In aquaponics we have specific balances to keep between the fish, the bacteria and the plants. It is frequent to see beginners exceeding the limits and facing challenges. The fish population is the first one to suffer and too often, beginners lose their fish.
Testing the water quality will allow to detect any unusual variation. Hence, we can act accordingly and balance the system. As a result, we solve the “issue” and avoid any impact on the fish population.
How often should you test your aquaponics water
My easy recommendation is to test the water weekly. However, My preferred approach is to adapt the water quality test frequency to the below factors:
The age of the aquaponics system
Well established aquaponics systems older than 6 months are generally stable. They don’t require a day by day monitoring. a weekly testing frequency is good. Young aquaponics systems instead, are showing variations in their water parameters. Especially during the first month while the system is cycling. Hence, I recommend to check the water every 2 to 3 days in the first month to properly monitor the cycling process.
Temperature of your aquaponics water
If your fish are on the edge of their temperature range, be careful. I would recommend to control the water parameters frequently. Indeed, during this time, your fish tolerance to stress will decrease. Hence, we want to make sure that the water is perfectly adapted to their needs.
The fish biomass/bacteria ratio
As explained in my other articles, there is a specific limit in the quantity of fish you can stock in your system. You can calculate this limit using the following formula: Fish biomass (kg) = media volume (L) / 50. In other words I recommend a limit of maximum 1 kg of fish per 50 litres of efficient media. Hence, if you come closer to the limit, you know that you are close to the limits of the system. As a result, I recommend to test the water every 3-4 days when you are close to 1 kg of fish per 50 Litres of media.
Your level of experience
It is logical, beginners make more mistakes than experts. We all learn somewhere and we often learn by making mistakes. The important thing is to make sure your mistakes will not affect the fish health. Hence, if you are an aquaponics beginner I recommend to test your water every 2-3 days within the first 2 months. After that, a weekly testing may be OK. I also recommend the beginners to record the results on the excel spreadsheet provided at the end of this article to keep an history. More experienced aquaponics keepers only test the water monthly, sometimes even less.
Aquaponics water parameters and targeted range
When we do water tests, we often test 4 parameters. However, we will see in this paragraph that a multitude of others are also important.
The 4 major water parameters to follow
Ammonia
Ammonia is the first form of nitrogen released by the fish. It is very toxic to the fish. In aquaponics we try to maintain the concentration below 1 ppm (part per million = mg/L). The target range is 0 to 0.5 ppm.
Nitrite
Nitrite is the result of ammonia transformation by nistrosomonas bacteria. They are also very toxic for the fish. We do our best to maintain the concentration below 1 ppm. The target range is 0 to 0.5 ppm.
Nitrate
Nitrate are the result of Nitrite transformation by nitrobacter bacteria. They can stress the fish at high concentration but are not as toxic as ammonia and nitrite. Ideally we would like to keep the concentration low for the fish. However, plants consume nitrate. They require a minimum concentration to show a good growth. Hence, we must reach a compromise and the value depends on the species of fish we want to grow. We generally maintain the concentration below 100 ppm. As explained, the target range depends on the species. On average we target between 15 and 50 ppm.
pH
The water pH represents the acidity of your water. it’s measured on a logarithmic scale going from 0 to 14. 0 being an absolute acid and 14 basic. Logarithmic means that every time you move 1 point, the concentration fluctuates 10 times. In other words, a pH of 6 is 10 times more acidic than a pH of 7 and 100 times more acidic than a pH of 8. Every species of fish/plant/bacteria has a unique pH optimum. However, in aquaponics we use the best compromise for all species of the ecosystem which is around 7. The pH has a tendency to naturally decrease. This is due to the Nitrogen cycle releasing Hydrogen ions into the water. Hence, our mission will be to maintain the pH around 7. little variations are generally not dramatic for the fish. But rapid chocs are more dangerous. We generally target a pH range between 6.3 to 7.7
Minerals
Plants need a multitude of mineral elements. Aside from the Nitrogen (N), the most essentials trace elements are:
Phosphorus (P) , Potassium (K), Calcium (Ca), Sulfur (S), Magnesium (Mg), Boron (B), Iron (Fe) Chlorine (CI), Copper (Cu), Manganese (Mn), Molybdenum (Mo) and Zinc (Zn).
However, It is pretty difficult to measure the concentration of each element. In aquaponics we have an holistic approach and simply add rock powder or a mix of trace elements when required.
Here are the parameters you can track to maintain a good mineral concentration:
General Hardness (GH)
GH is the concentration of mineral ions into the water. We calculate this value from the Calcium and Magnesium concentration. This value gives a good indication of the quantity of minerals into the water. In aquaponics, we like to keep this value between 50 and 100 ppm. However, this value may varie depending on fish species and plants growth.
Carbonate Hardness (KH)
The KH is a measure of the water Alkalinity through calcium carbonate (CaCO3). A high KH has a buffer effect on the pH. This pH stabilization is good for the ecosystem. We aim to keep our KH between 70ppm and 100ppm.
Dissolved Oxygen
The dissolved oxygen is the concentration of oxygen available into the water. It is very important to measure the dissolved oxygen concentration in tanks with a high fish density. However, in aquaponics we work with a lower density of fish. Hence, most aquaponics enthusiast achieve good results without measuring this parameter. Indeed, a simple air pump ensures a comfortable concentration of oxygen in the water tank. If you grow high demanding species such as trouts, keep your oxygen concentration around 7mg/litre. However, if you grow low oxygen consumers such as carps, an oxygen level of 5 mg/litre will be enough.
Temperature
The water temperature has a massive impact on the aquaponics system production. Each species has a unique temperature range. You must select the species according to the range of temperature your local climate offers. It is good to record the water temperatures through the year. It will help you to select future fish.
Material needed to test your aquaponics water

To test the 3 nitrogen parameters (ammonia, nitrite, nitrate) and pH, we can use a simple aquarium water test with test solutions Some people use paper strips. however, I sometimes find them inaccurate. I prefer the freshwater API master test kit. It is simple to use and accurate enough for what we need to do. You can check the current price on eBay here: API freshwater master test kit.
Some people prefer to use more sophisticated material. However, if you have a simple backyard aquaponics system, this investment is not mandatory.
To check the GH and KH you can use the same type of API tests here. They are efficient and inexpensive.
The oxygen can also be monitored with an oxymeter. It’s not a mentadory equipment but can always be interesting. Check the current Oxymeter price on ebay here.
If your budget allows it, you can invest into a centralized monitoring system. They give live information and some can be linked to an application on your phone. However, having worked with this type of equipment, I can tell you that the sensors need a regular clean. Hence, I don’t recommend it to beginners.
How to test the aquaponics water
Testing the water can seem intimating but trust me, you can do it. In this section I will explain you how to test the your water with the freshwater API master test kit.
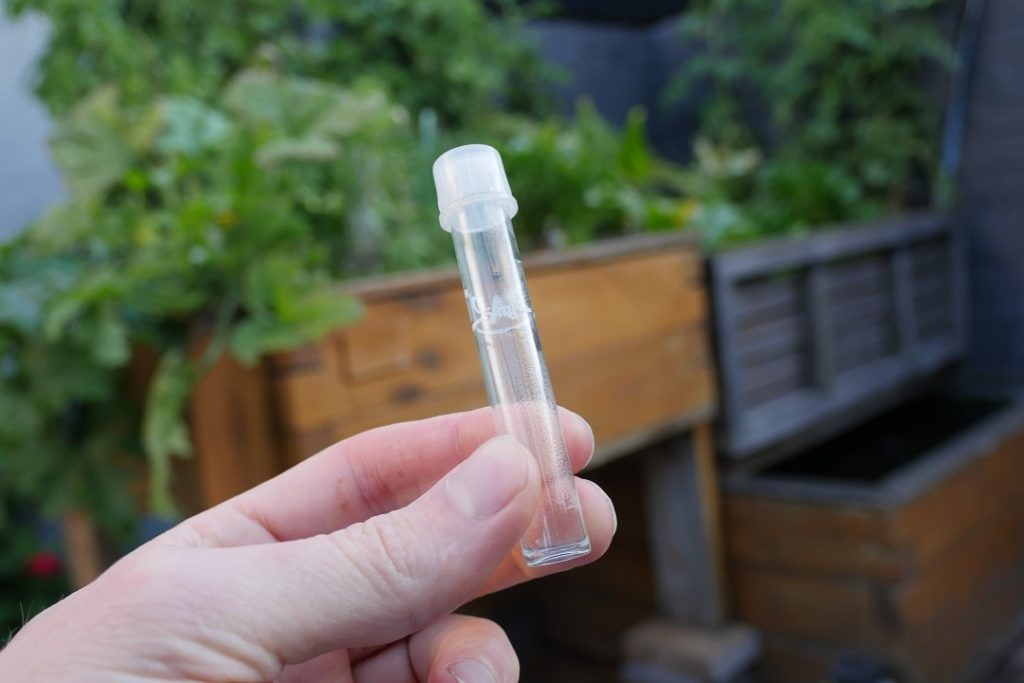
inside the kit, you will find 4 little water bottles. Looking closely, you will find a mark corresponding to a quantity of 5ml.
- Fill each bottle with 5ml of water from your aquaponics system.
 We will use one bottle for each parameter to test (ammonia, nitrite, nitrate and pH).
 - For each parameter to test, you will find test solution bottles. Some parameters have one solution, others have 2 solutions. We will start with ammonia. Take the bottle of ammonia test solution and shake it energetically for 30 seconds. Read the number of drops to add (8). add this number of drops into the water bottle.
- Close the water bottle with the little cap (not with the finger) and shake it energetically.
- Wait for 2 minutes
- Take the second bottle of ammonia solution and shake it energetically. Add the number of
 drops stated on the reactive (8) to the water bottle.
- Close the water bottle with the little cap (not with the finger) and shake it energetically.
- Wait for 5 minutes.
- Compare the liquid water to the color chart provided.
- Read the result.
You now have your ammonia concentration. You can follow the same process for the 3 other parameters.
How to interpret your aquaponics water quality test results
After measuring all parameters, you can record them on an excel spreadsheet provided at the end of this article to keep an history. Furthermore, you must interpret your results with the target range values listed above. If you are out of the range on toxic materials, here are the urgent action to take:
1. Renew 50% of the volume of water. This will dilute the concentration of toxicity into your aquaponics water.
2. Do not feed the fish
3. Increase the supply of air (add an additional air pump)
4. Do not stress the fish, cover the tank if possible
Ammonia and Nitrite
After the cycling process past (the first month of your system). If those levels are higher than 1ppm, you must undertake the urgent actions listed above. Also, you must fix the cause of the issue. The cause can be that you overfed your fish or you simply have too many fish in your tank. You can adapt your feeding, consume some fish or give some around.
Nitrate
High nitrate:
If your nitrate level is too high, you can simply use some of your aquaponics water to water your classic garden. If possible you could extend your grow-bed or add an NFT system fed by your existing fish tank.
Low nitrate:
If your nitrate are too low, you can add more fish or add plant nutrients into the water.
pH
As discussed, pH is naturally decreasing. Hence, if your pH results are below 6.5, you will need to raise it back. You can raise your pH by adding baking powder which will increase your water KH and PH.
Minerals
If your TDS or GH are low, you can add rock dust to increase the quantity of minerals available in your water.
Dissolved Oxygen
If your water oxygen concentration is low comparing to your fish requirements, you must improve the aeration. Some people increase the water pump size or build some Venturii. However, from my perspective, this action consumes too much energy. Instead, I recommend to add a simple air pump. It is for me the most efficient way to aerate your fish tank.
Begin your aquaponics water quality data base
It is good practice to keep a record of your water analysis results. Hence, I recommend you to get the free spreadsheet template here. It will allow you to keep record of all important parameters and keep an history of your aquaponics system.
If you are new to aquaponics, you will probably be interested to discover my six steps to build and manage an Aquaponics system. Click here to access for free! Thanks and good reading 🙂